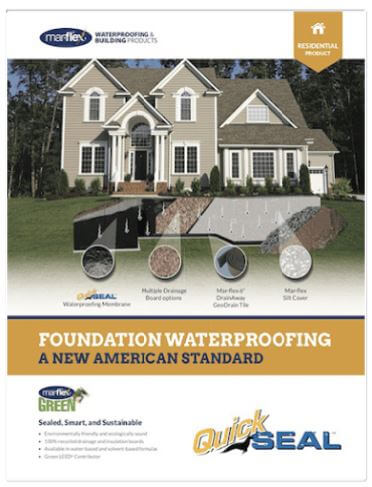
Vapor barriers protect the frame of your home from water damage. This barrier is designed to block water vapor from building up and provides an outlet for moisture. While a plain plastic sheet is commonly used as a vapor barrier, these traditional plastic barriers allow water to pass through them. Stores that sell concrete supplies carry the newer type of barriers, that remain effective against moisture penetration but are a bit more expensive. There are several places in a home where a vapor barrier would be beneficial. Under the foundation is the most important place in a home to place a barrier, unfortunately, if your home is already built there is nothing you can do about this. Attics and crawlspaces are another perfect place. Its easy to install these barriers in most parts of the home. If there is already water built up where you plan to install the barrier, clean this up before installing. The wall you are installing the barrier on should be cleaned and dried, and then caulk used to fill any gaps around windows or in the wall. Measure your wall and write down the measurements, then add two inches to allow you enough barrier to stop water from getting in. Roll out the barrier on the wall you’ve marked, and use a staple gun to attach the product. Use tape to seal the seams of the barrier. Make sure you finish the wall within a month of installing the barrier, as this will prevent damage to the surface and protect the vapor barrier.
Recent Posts
- Mar-flex Waterproofing & Building Products: A Comprehensive Guide to Advanced Building Solutions
- Mar-flex Introduces the A-Buck Scaffolding System: Revolutionizing Low Rise Scaffolding at the World of Concrete in Hopes of Winning 2024 New Product of the Year!
- Unearthing the Foundations: The Fascinating Journey of the World of Concrete
- Enhancing Your Property with Stonewells: The Advantages of Egress Window Wells & Accessories from Mar-flex
- The Team Behind Building a Dream Home: Roles and Contributions in New House Construction
- Discover Local Mar-flex Distributors for Premier Waterproofing Solutions
- Preparing Your Home Foundation for Winter
- Mar-flex Presents: The ArmorClay™ Bentonite Waterproofing System
- A Detailed Examination of R-Values in New Home Construction
- Waterproofing vs. Dampproofing: What Every Home Builder Should Know
- Concrete Longevity: It’s Not If, But When. Protect Your Foundation with Mar-flex Products
- The Rising Demand for Architects and How Mar-flex Steps Up to Support
- Mar-flex: The Ultimate Solution for Basement Crack Repair
- TopGun Drainage Board & Waterproofing Membranes: The Gold Standard for Million-Dollar Homes
- The Rising Popularity of Geomat, Geomat Plus, GeoDrain, and ArmorDrain in Modern Landscaping and Turf Fields
