Installation of waterproofing rolls is not especially complicated, but it does require labor and attention to detail. Seemingly small mistakes at key times in the installation process can cause disastrous results that compromise the waterproofing integrity of the entire project.
Here’s a quick guide to the key moments in your waterproofing roll installation.
Purchase
Of course, you want to start by buying a quality waterproofing roll product.
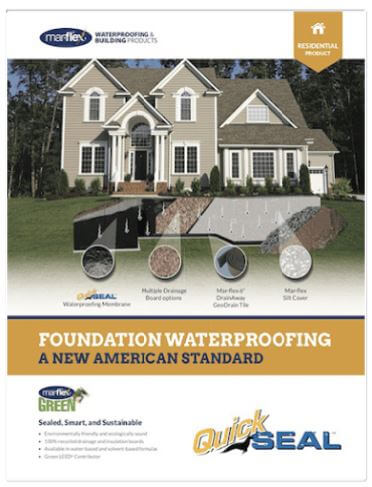
Bentonite waterproofing rolls are high quality, long-lasting waterproofing rolls sold by professional materials providers in your area. The key ingredient is a special, naturally-occurring clay called bentonite. Its ability to repel and retain water is practically unmatched among other affordable natural components.
Bentonite expands to fill cracks and crevices, leaving your final prepared surface impermeable to rain, snow melt, and other forms of condensation. This “self-healing” property of bentonite to expand a little when wet makes it an almost ideal ingredient.
Preparing the surface
This is the most time-consuming part of the process, and arguably the most important. Whether it is a foundation wall or a roof, taking these steps will make the rest of the installation more successful.
Clear the surface of sharp objects. This includes corners of substrates, exposed nails or improperly seated nail heads. This can even involve sanding down exposed ridges to create a surface as smooth as possible.
Clean the surface according to the instructions in the specific product. These may require cleaning with water to leave the surface free of dirt and dust. And this might also require some time for the surface to dry.
Pay special attention to seams
As with any surface installation, whether paint or waterproofing, you will want to pay special attention to the seams and corners of the project.
First you should take great care to make sure the sheets line up precisely over the length of the roll. This will help keep water out and allow your product to work as advertised.
Also in seams, at walls, and in corners, you will want to make a second pass after installation. This time around, the addition of an approved sealant will help make sure that your space remains waterproof for the life of your project.
Of course, you should always pay special attention to the instructions on your product, as each set of chemical compounds have their own specs and requirements to maintain the warranty.
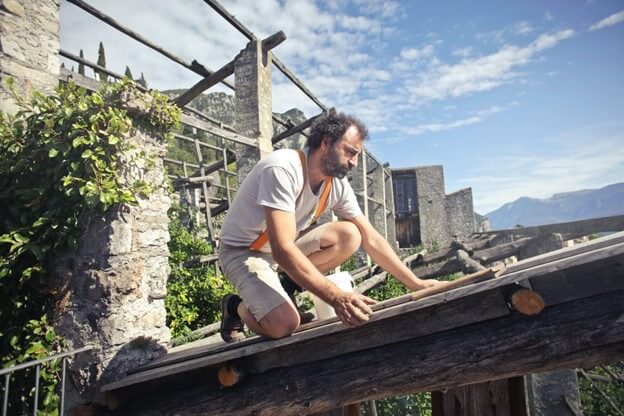
Man working on roof
Photo by Andrea Piacquadio: https://www.pexels.com/photo/focused-man-building-roof-of-wooden-construction-3771111/