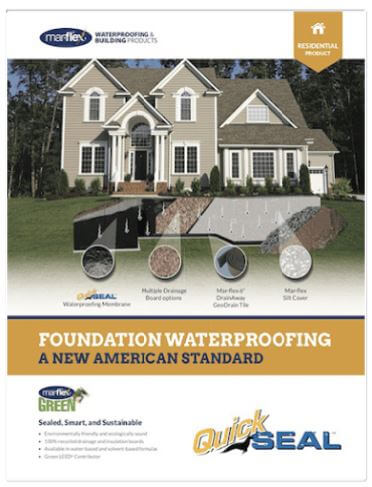
One of a homeowner’s top fears is water or moisture in their basement.
In some cases this can mean a messy, expensive, and time-consuming repair. The most comprehensive solutions involve the exterior of the house, trench-digging, and days of ugliness and inconvenience until the problem is solved.
Fortunately that isn’t always the case.
Sometimes the problem is one that the homeowner can solve alone.
DIY Waterproof Sealer
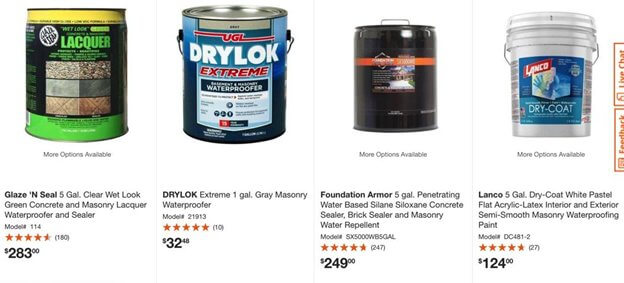
There are many quality waterproof sealers on the market.
A quick search at Home Depot yields the following:
And a similar search at Lowe’s:
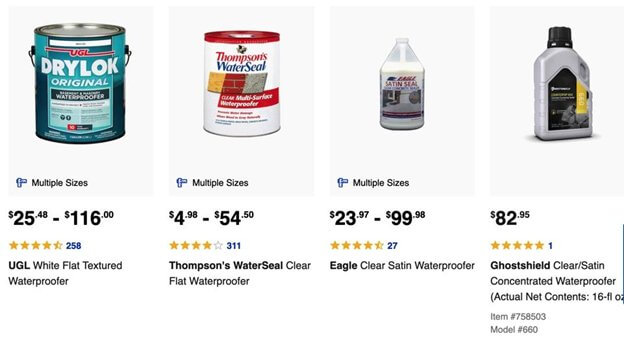
So you see there are a range of solutions.
Having heard of a product means that the company has a decent advertising budget. This does NOT mean the product is better, necessarily.
In general, the process works the same whichever product you buy, and will be effective for roughly the same amount of time.
Be sure to read the labels to determine whether your project is a good match with the product. For instance, you likely want a product that blocks moisture and not something that focuses on blocking mold production.
Doing the Work
The project generally involves the following steps.
Purchase the necessary equipment including brushes, rollers, painters tape, mask, and sealant.
Prepare the surface by wiping off loose dust and small debris with a wet cloth. Allow to dry.
Prepare the environment by ventilating as much as possible.
Apply one or two coats of sealant according to the directions on the product.
It is possible to work in sections. If you are working around visible cracks, it is recommended to treat that as one section, so the crack gets an even coat (or two) of sealant. Then areas around the visible cracks can be sealed at a separate time as necessary.
Cleaning Up
Use mineral spirits or other recommended thinners to clean your brushes. Dispose of roller pads or clean them as you prefer.
Remove tape while the sealant is tacky but not wet. This allows you to pull the tape up without creating a runny mess, but also prevents the tape from becoming a permanent part of the finished project.
Wait the recommended period of time before returning furniture or storage units to the space. The presence of a strong odor even after the recommended drying time is a clue to wait even longer. Your application thickness, the humidity, and the level of ventilation all can cause drying times to vary from the directions. It is best to make sure it is fully dry rather than rush something back into place and damage the finish.
Who can do this DIY waterproofing project?
If your moisture problems are minor, this is an easy project you can do if you have ever painted a room. Even inexperienced DIYers should be able to accomplish this.
However, if the task seems too big, or you’re not sure this will stop the water, it is better to call the experts at Mar-Flex Waterproofing to get an estimate and a guarantee that the water will be stopped.