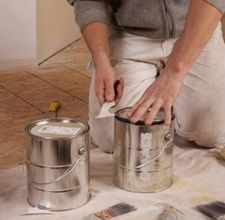
Waterproof paint is an important tool in the fight against moisture penetration. The basement is often a cooler temperature than the rest of the house, and this leads to dampness. Also, if there are any imperfections or damage to the foundation wall then water will find a way through and into your basement.
When you apply waterproof paint, assure that the surface that it is being applied to is dry. In order to get the paint to adhere to the surface properly it needs to be as dry as possible, because moisture becomes trapped in the material if it isn’t dry. Using dehumidifiers and a wet and dry vacuum will speed up the process. Unfortunately, if your foundation wall is damaged, waterproof paint can’t help you. Painting over damaged areas with waterproof paint is a waste of time. Therefore, use a wire brush and mortar to fill any damaged areas in the wall, then apply the paint.
One common mistake many homeowners make when applying waterproof paint is just painting the wall and stopping. Water will find a way into your basement from every space and hole it can, so make sure to pay close attention to seams where the walls and ceilings meet. You should use mortar to seal these small gaps, and then apply waterproof paint as an extension of painting the walls.
Concrete is porous, this means it absorbs moisture and waterproof paint like a sponge would. One coat of waterproof paint is not enough to properly seal the basement wall. Use at least two to three coats of paint to ensure proper protection.
Following these tips will save you time and money, not to mention give you extra piece of mind about the safety of your basement, and your possessions.
